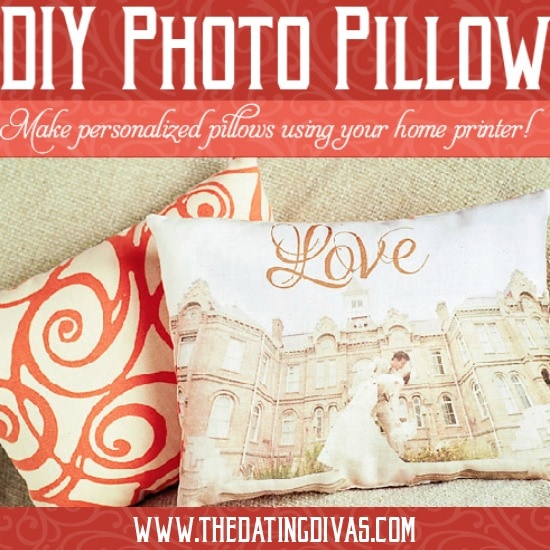
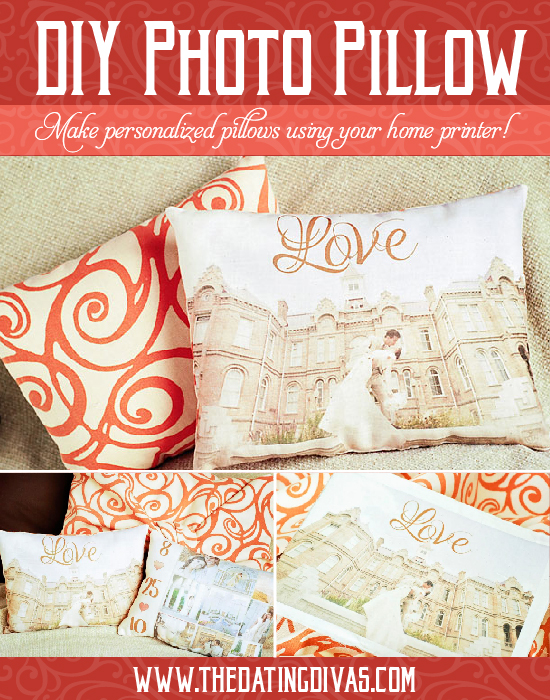
Make Your Own Photo Pillow From Your Home Printer!
I am absolutely in LOVE with this DIY craft project! Take your family photos, your wedding pictures – whatever you want and make it into a customized pillow! It was so much easier than I would have ever thought and the tutorial is right here!
- Muslin Fabric
- Freezer Paper

- Iron
- Fabric for pillow backing
How to Make Your Own Photo Pillow
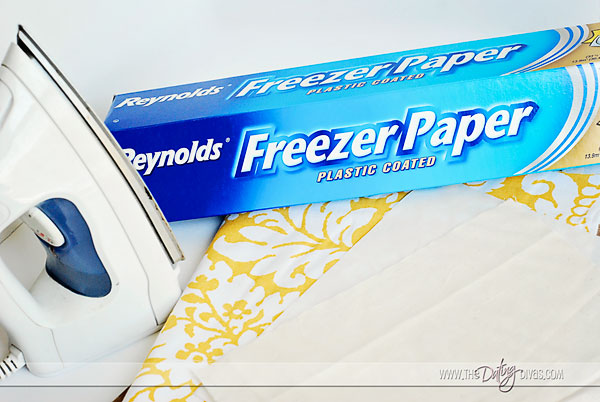
To start your photo pillow, cut your muslin fabric and your Freezer Paper ![]() to an exact 8.5 x 11″. You can purchase freezer paper online (just click on the word & it will link to Amazon) OR you can also find it in your local grocery store.
to an exact 8.5 x 11″. You can purchase freezer paper online (just click on the word & it will link to Amazon) OR you can also find it in your local grocery store.
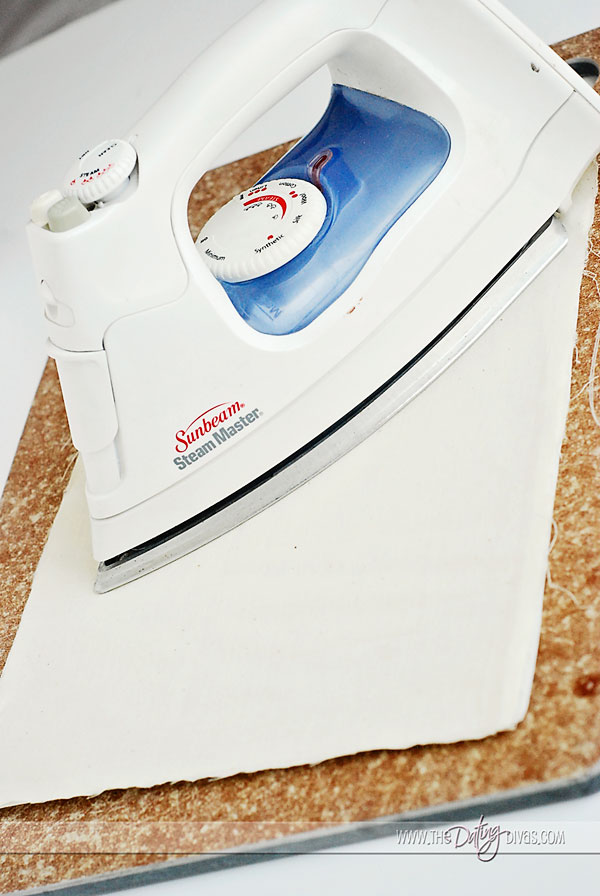 Place the muslin fabric and the Freezer Paper
![]() on a hard surface {I used a cutting board} and iron the pieces together. When placing the muslin fabric and freezer paper together, make sure the shiny side of the freezer paper faces the fabric. When ironing the pieces together use a HOT iron and pay particular attention to the edges. Those are the most important parts that need to stick!
on a hard surface {I used a cutting board} and iron the pieces together. When placing the muslin fabric and freezer paper together, make sure the shiny side of the freezer paper faces the fabric. When ironing the pieces together use a HOT iron and pay particular attention to the edges. Those are the most important parts that need to stick!
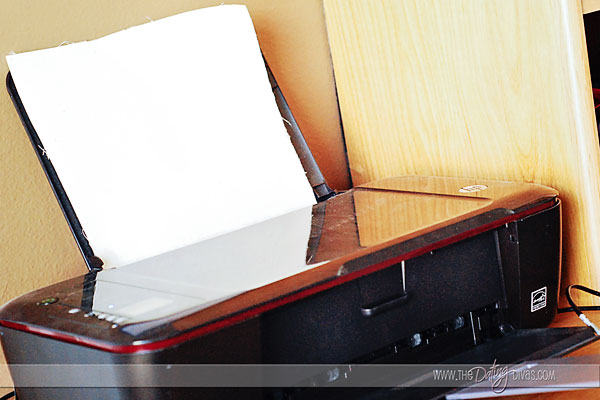
Once the muslin fabric and the freezer paper are molded together place the paper into your printer so that it will print on the fabric NOT the freezer paper!
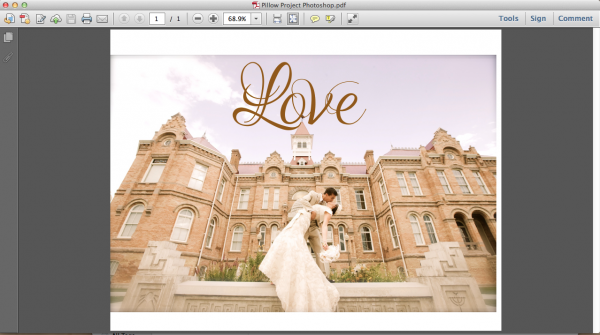
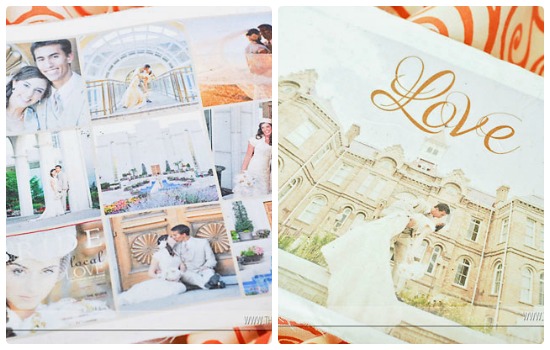
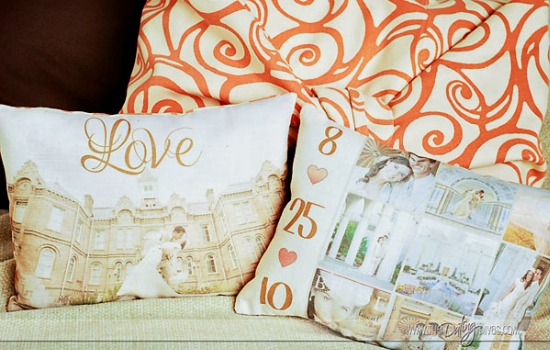
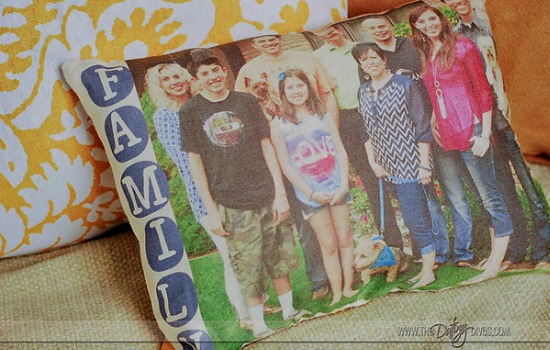
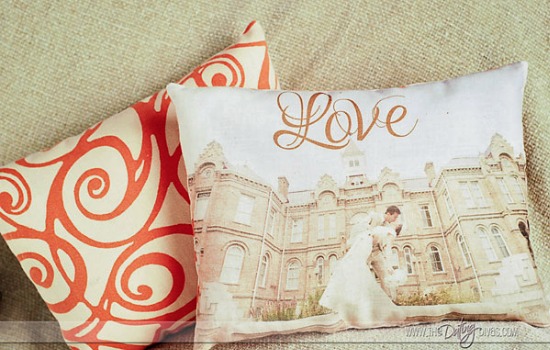
Now, the hardest part – deciding WHICH picture to use! Using Microsoft Word on the computer I uploaded a picture from our wedding day and stretched it to fit the entire page. I created a text box to put the word LOVE above and that was it! Easy!

For the wedding day collage pillow I got a little fancier with the editing skills and I used an amazing site called picmonkey.com to create a collage of pictures. This website is free and is SUPER easy to make collages with! I definitely recommend it!
Once you have your picture edited and ready to go you are almost ready to print! To get the best results change your print settings to “photo paper” and the quality to “maximum dpi” You will want your printer to put out its best work for this project! After you have adjusted those settings – hit PRINT!
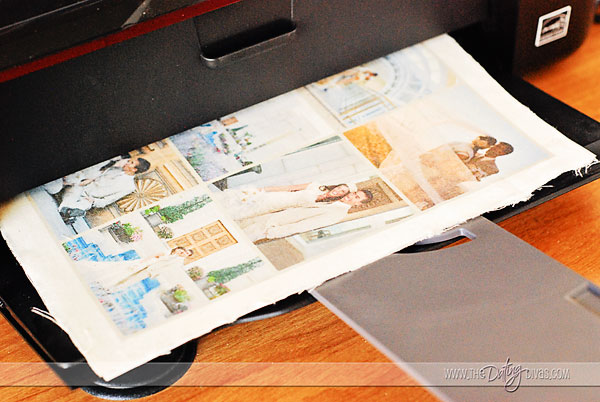
It should come out of your printer looking something like this! So cool right? Here are my two photo pillow projects right out of the printer:
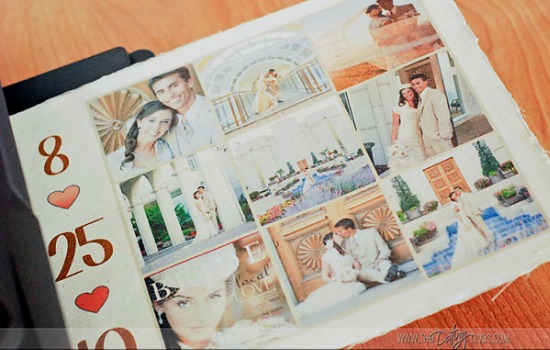
Now that you have these printed, peel away the freezer paper and you now have the front fabric for your pillow!
You can now put this piece together with the backing fabric of your choice and sew them together to create a pillow. If you are new to sewing a pillow, THIS site has a great step by step tutorial to walk you through it OR you could ask your nice neighbor to help you {thanks Marlys!}
Not too hard right? And SO cool! I had no idea my printer was capable of doing this! These pillows are so cute and they make GREAT gifts! I had so much fun making these (and had so much fabric and freezer paper to spare!) that I made one for my mom as a thank you gift.
Think of the possibilities for your kid’s rooms, your home, gifts and more! There are SO many things that you can do with these pillows and they turned out so cute!
If you love making personalized gifts and projects from your pictures you will want to check out this darling DIY heart-shaped poster.
Good luck creating your own! Please share with us your final projects – we would love to see them!


Do you just have to use muslin fabric and how long do you have to iron the fabric and freezer paper
Those are great questions!The reason that I chose to use muslin fabric was simply because it is fairly inexpensive, light in color and a very thin material. If you do try another material you will definitely want to have something very thin. I haven’t tried other materials, but if you do – let us know how it works for you!
For ironing the the fabric to the freezer paper, I just ironed until the freezer paper adhered to the fabric. The purpose of this is to make the fabric stiff enough to go through a printer.
When making the photo pillows do you have to use Muslin? With a house full of kids Muslin is no picnic to keep clean. I’ve even tried using scotchguard. But even if they don’t play with it, the’ll throw it out of the way because their not supposed to touch it and it still becomes out of shape or dirty.. Any suggestions?
That is a great questions! The reason that I chose to use muslin fabric was simply because it is fairly inexpensive, light in color and a very thin material. If you do try another material you will definitely want to have something thin. Let us know how it works for you!
Hi i would love to do personlised pillowcases one of my husband who died in feb of this year. Can you still do them without having a printer or a laser printer can you let me no. Thankyou teresa x
That sounds like a wonderful idea. I am sorry for your loss. If you don’t want to make a DIY photo pillow – you can personalize and purchase one from Shutterfly. Check out this link to see all of the options: https://www.shutterfly.com/photo-gifts/pillows
Just wanted to share that the picmonkey.com site is free for 7 day trial then there’s a monthly fee.
Thank you for sharing that. Picmonkey has updated their site since this post was created. If that site doesn’t work for you there are lots of other free collage makers you can utilize. There is a simple one I use on my phone called Frametastic that would work great!
Firstly awesome job. I was curious about your printer. How wide was your paper?
That is a great question! The printer I used was a very basic one and the paper was just the typical 8.5 x 11. I hope that helps!
I have read your blog, it sounds so simple can’t t wait to get started on my pillows. Thank you for sharing you were very helpful, best of luck. God bless
You are welcome! I loved the way my pillows turned out – I hope you enjoy yours!
Can you use wax paper? I cannot find freezer paper at my local store…
What is the purpose of the freezer paper? Is it just to make the fabric stiffer to be able to feed it through the printer? Just curious!! Awesome idea though; I think I’m going to make one!
The purpose of the freezer paper is to make the fabric stiff enough to pass through the printer! You’ve got it!
I love this idea! I must create on of the for my clients. Did you a laserjet or inkjet printer?
I used a low-end ink jet printer – nothing fancy!
This is the cutest idea ever! I need to try this out. Now to figure out which picture to use! xox
Guess what everyone is getting for Christmas?! These are soooo cute! I even think my daughter’s friends would flip over this as a birthday gift with a photo of them dressing up or being silly. Sarina, you seriously have the cutest decor ideas. Maybe you should come help me decorate the bedrooms in my house because I’m so indecisive!
I love this I am doing this with. My friends thank you for this idea Sarina
I am excited to see what you make!
Sarina,
These are gorgeous!! This is one DIY gift that I am totally going to do!! Thanks for the fantastic idea:)
Just wondering how these hold up to washing. Does the ink bleed into other things in the wash or wash away at all? Looks so fun to make but I want to make sure if I try it that they don’t look bad after going through the wash.
If you want to wash your pillows there are just a few extra steps. You will need to wash your fabric in a solution first. I found this site with more details: https://quiltbug.com/Articles/bubble-jet-set.htm Hope that helps!
I LOVE this!! This would make such a great gift, Im going to pin this for around christmas time!
I am SOOOO in love with this post! I seriously want to try this!!! XO