Strengthening Marriages One Date at a Time
Come join us as we make our marriages our top priority—every day!


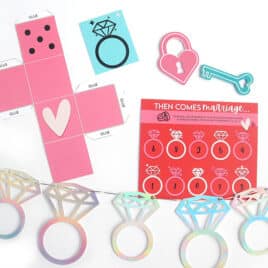
One Week to a
Better Marriage
Sign up now and get our 7 Days of Love Program absolutely free!

BEDROOM ADVENTURES ON AUTOPILOT!
Try something new in the bedroom together every 3 months!
SEXY SUBSCRIPTION: A QUARTERLY BEDROOM BOX
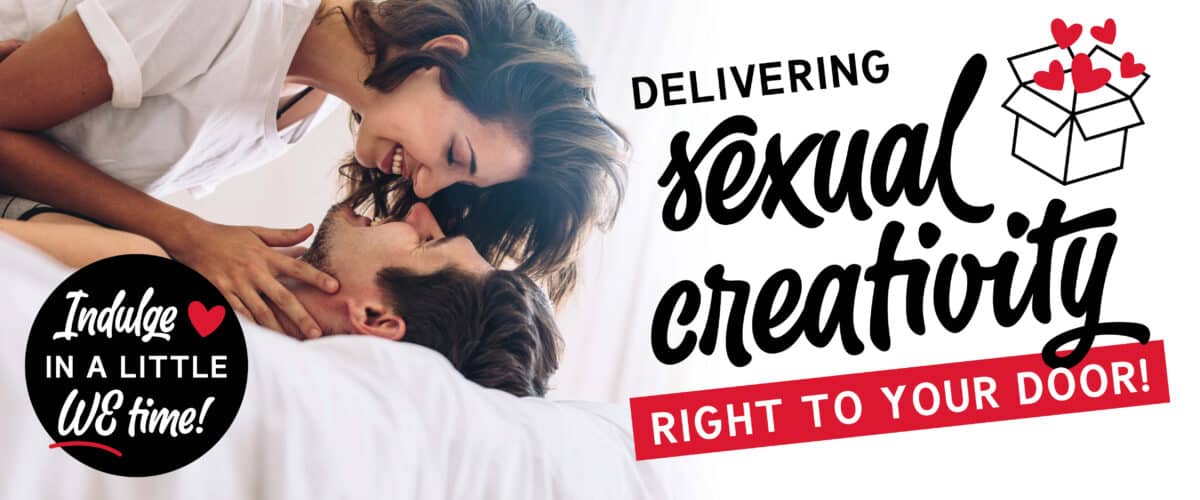
A fun & easy way to add excitement & novelty to your sex life on a regular basis… all year long!
Ready to have the marriage of your dreams?
Click the option that most applies to you!
We need help
in the bedroom!
We’ve got the best ideas to spice up your sex life and turn the heat up in the bedroom.
We are in a
Date-Night Rut!
We have quick, easy and creative date ideas that will take you beyond dinner and a movie.
We Need Help
Connecting Again.
We can help you connect and communicate on a deeper level to rebuild your relationship.
Newest Posts
See What Others are Saying

The Dating Divas have TONS of FABULOUS fun and flirty resources to keep couple Date Night alive and enhance the marital relationship as well. Whether you’re looking for some DIY ideas or ready-made resources, this site has it all!
Laura M. Brotherson, LMFT, CST StrengtheningMarriage.com
Dating Divas is doing amazing things for marriages. This site helps bring fun and spark into marriages. They take the guesswork and grunt work out of date night by giving you “done-for-you” creative ideas for dates and connection in marriage. Marriage is meant to be fun and this site gives you practical ways to do just that.
Dr. Kim Kimberling AwesomeMarriage.com
The Dating Divas is a great resource for fresh date and bedroom ideas for your marriage! You’ll find practical, fun, and relationship-building activities that can enhance your intimacy.
J Parker HotHolyHumorous.com
We love the creative date ideas and other resources for married couples on this site. We’ve done nearly a hundred of the dates (yeah, we’re Diva junkies)! The best part is The Dating Divas remind us to have fun while prioritizing intimacy and our relationship in our busy life. Thank you for strengthening our marriage, one date at a time!
Dan & Emily Purcell GetYourMarriageOn.com
The Dating Divas offers an amazing set of resources for couples at every stage of their relationship. The date ideas, helpful tools and approaches to conversations and connection – it’s amazing to see the power in what they are doing to help couples create the relationships they’ve always dreamed of with tools to make it happen!
Sam Tielemans, LMFT HealingCouples.org
I was just poking around on the internet, trying to find fun and exciting ways for my husband and I to spend some time together when I found your wonderful website! Wow! I printed off so many great ideas and I just can’t wait to try them. Thanks so much for making these items free and easy to access.
Melissa B.Meet the Divas
We are wives, mothers, sisters, and friends who strive to enrich marriages everywhere. We want to celebrate the gift of marriage while inspiring others to do the same. It is our goal to provide creative, inexpensive, and innovative dating ideas that will bring joy, fun, and excitement back into your relationship. We encourage all married men and women to take a conscious and proactive approach to investing in their spouse.