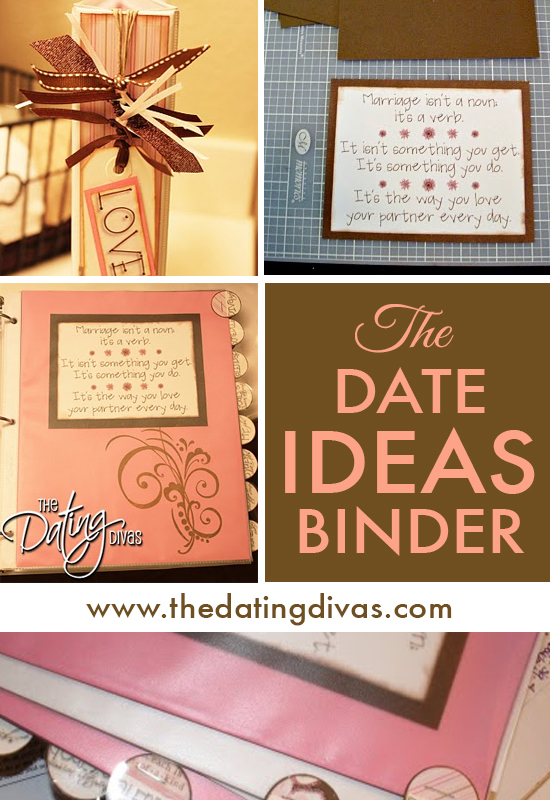
Date Ideas Binder DIY Craft Tutorial
Soooo…we’ve given you ALL of these amazing dates ideas, but what are you to DO with them? This beautifully scrapbooked binder will help keep you on top of dating that adorable spouse of yours!!
Disclaimer: This post contains affiliate links. To learn more about ’em, click here.

..and I am going to show you how to turn a boring ‘ole binder into a masterpiece! Err….at least make it a LOT cuter!! {lol} Are you READY??
First of all decide on a color scheme. I chose brown, white, and pink….to go along with our “Dating Divas” theme, of course! You will then need to gather the following materials….
Materials Needed:
- Six 12×12 scrapbooking paper (three different types…two of each)
- 1-2 solid colored scrapbooking papers that match your color scheme (I used two different shades of pink.)
- 2 White pieces of cardstock (to download the FREE printables onto)
- The Dating Divas’ FREE download (at the end of the post)
- A 2″ binder (I just used a regular white binder) For custom and bulk buy options (50 or more) consider binders by Company Folders.
- A Cutting Board
- Distressing Ink & a stamp pad (I used brown for both)
- Stapler
- Scissors
- Super Glue (or ANY super strong adhesive)
- Assorted ribbon – all different widths and colors – that matches your color scheme
- Circle Punch (mine was 1 ¼ in)
- A Swirly Stamp that you LOVE!!
- Scrapbooking Adhesive
- 1 Fake Flower (mine was PINK)
- 1 Big Button (I used both white and brown)
- Twine (skinny ribbon would work as well)
- 1 White Tag (….but plain scrapbooking paper would work just as well)
- Sheet Protectors
- 1-2 Transparency Sheets (optional)
I totally made this up as I went thru the “creating process”…so feel free to grab whatever is in your house and improvise! 🙂 I literally only had to buy the binder, some of the scrapbooking paper, and the stamp….so…my BIGGEST advice is to see what you have lying around to make your binder beautiful before running to the store. Most of these supplies can be found at your local Target and Walmart. The scrapbooking supplies can be found at most scrapbooking supply stores, Michael’s, or Jo-Ann’s.
The FIRST step is to cut all of your paper to the right size. I chose three different patterns that went well together and used the following measurements:
FRONT OF BINDER:
“Big” Piece AKA Striped Paper – 10 in x 11 ¼ in
“Medium” AKA Brown Flowered Paper – 10 in x 4 1/2
“Small” AKA Pink Words Paper – 10 in x 3 1/2
BACK OF BINDER:
(sometimes they have the “screws” so your paper insert has to be sized smaller)
“Big” Piece AKA Striped Paper – 9 in x 11 ¼ in
“Medium” AKA Brown Flowered Paper – 9 in x 4 1/2
“Small” AKA Pink Words Paper – 9 in x 3 1/2
SPINE OF BINDER:
“Big” Piece AKA Striped Paper – 1 3/4 in x 11 ¼ in
“Medium” AKA Brown Flowered Paper – 1 3/4in x 4 1/2
“Small” AKA Pink Words Paper – 1 3/4 in x 3 1/2

Your striped/big pieces on the spine and back will look a bit longer than mine….I was experimenting to try to save paper since I was making these binders for ALL the divas. Then – rip about a ¼ – ½ in off one of the sides that will run horizontal from all of your brown flowered/medium papers and pink words/smaller papers. Go ahead and “INK” all of the edges after you have done so.
Here is an up close look at my “inking” job on the paper that will be going on the spine.

Lay the pieces out just the way you want them and use your scrapbooking adhesive (or any glue you have) to secure them all in place. Put your front cover, back cover, AND spine cover together.

You can then slip the back cover and the spine into the binder…..they are DONE!! I then found a ball of twine I had in my “scrapbooking closet” and wrapped it around the spine a few times….I think I did it at least four times and tied it. This may look kinda boring now….but you just wait! It looks SUPER cute soon enough…

The FRONT cover was needing attention…..so let’s go on back to chatting about THAT! 🙂
…we are going to decorate the front cover a little more.
One extremely inexpensive way to decorate….is with stamps! Stamps can be kinda pricey to purchase…..BUT you can use them over and over again….so in my humble opinion, it really saves you money in the end!! (You don’t have to purchase tons of other scrapbooking supplies to dress up your projects.)
I found this GREAT stamp set (at either Michael’s or Jo-Ann’s….I forgot) for around nine dollars. I knew I would use this set a ton so it was totally worth it to me! The stamping world has come out with some pretty cool stuff lately. You purchase “clear” stamp designs that are clingy and will adhere to a block. After using it, you can then take it off the block and store it back in it’s wrapper….thus using that ONE block for all sorts of different stamps. I decided not to purchase the block that went with this stamp and instead just used the back of a cupcake stamp that I had. (So, yep….there is a cupcake peeking through the swirls below….lol.)
*COMMERCIAL BREAK*
I stamped the bottom right-hand corner of ALL the plain paper I wanted to put in my clear sheet protectors that would go inside the binder and act as dividers…..which is what you are seeing on the left-hand side. 🙂

*BACK TO DISCUSSING THE FRONT COVER*
I also placed a stamp on my front cover….you will see why I placed it in that spot soon….
I then took a thick brown ribbon, cut it so that it was about 12 inches in length, tied a knot in it, and adhered it to the cover. I made sure the ribbon wrapped around both sides of the paper and was securely adhered to the back of the cover as well.

I slipped that into the front sleeve of the binder. (Oh yeah…if you WANT to dress it up even more….you can do TWO stamps on the front, which I did on mine – see the picture below.)

I then turned my attention back to the SPINE. It was kinda boring….so, of course, we have to dress it up! I found some white tags in my good ole scrapbookin’ closet, inked the sides, printed off a “LOVE” label, used a little pink paper and whipped this up:

You can have the SAME affect without using tags. Cut some white card stock to about 3 ¼ x 1 ½ inches & ink the edges. Use a hole punch to punch a hole in about the same location as the tag in my picture. Then, cut a little piece of pink paper (or whatever color you want to use) using the dimensions of 2 ¼ x 1 1/16 in. I included the cute-sy word, “LOVE” on the download at the end of the post. {WINK}
Adhere the word “Love” onto the pink paper, then adhere THAT onto your makeshift “tag”. Thread some ribbon thru it and tie it onto your twine that has been wrapped around the spine of the binder.
I then cut a BUNCH of assorted ribbon (pinks, browns, whites) to be about 5 inches long each, and tied all of those onto the twine as well….see the pic below…

I just had to show you a pic of my table…..covered in ribbon! I like to see ALL my options….lol….

YEP! That’s how I roll!! I’m a super “organized” messy person when it come to my crafts! 🙂
K….onto the finishing touches!!
We have a nifty download for you that says “Our Date Ideas”. Make sure you print off the FREE download onto white card stock. It will hold up a lot longer than just regular copy paper! Cut it out.
Here is where the optional transparency sheet comes into play. I am a teacher, so I have easy access to stuff like this since I use it in my classroom. (A piece of a sheet protector would probably also do the trick.) Cut a piece so that it is the exact same size as the download….see below…
(Yep, it says, “The Dating Divas” on it….like I said, I mass produced binders for all of the divas….but I promise your download will say, “Our Date Ideas”…)
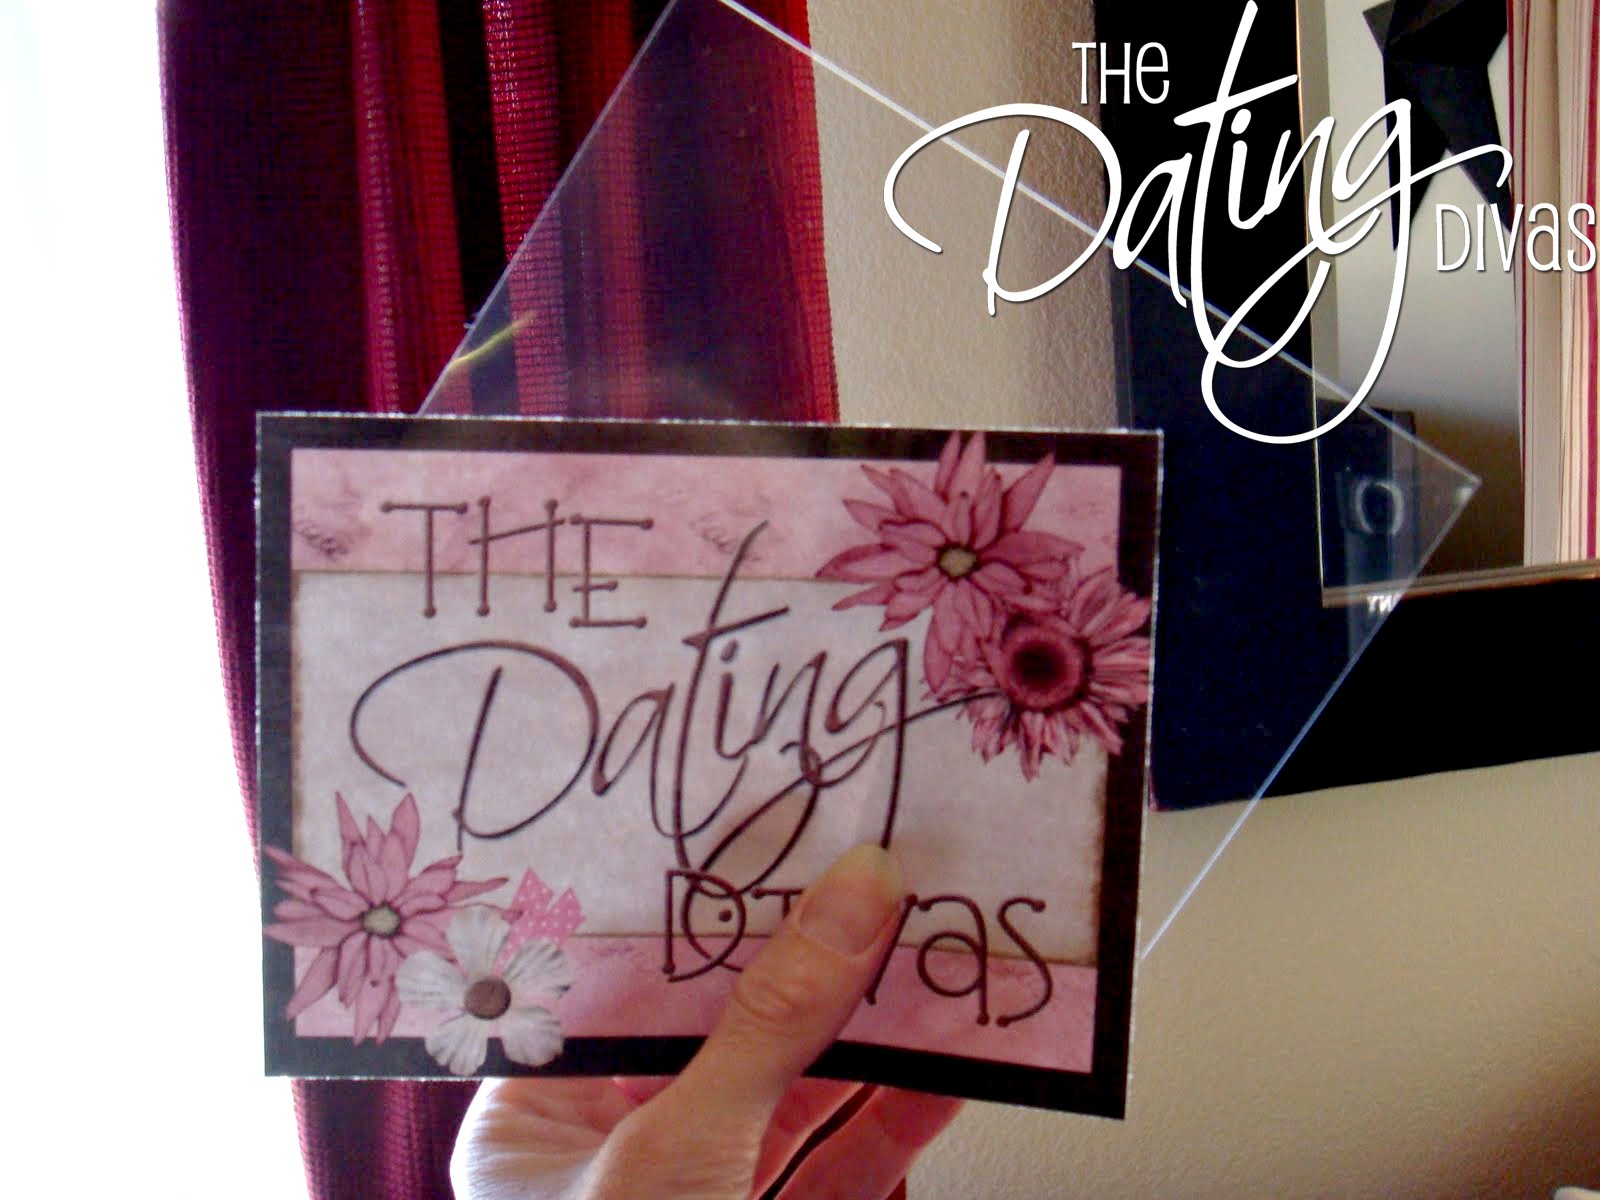
Staple two diagonal corners to keep the transparency and “title” sheet together….

..and adhere the whole thing to the front of the binder….on an angle positioned in front of the swirl stamp. I used “pop-ups” on this part to make it more of the 3-D look.

OK….WHY did I put a transparency on top of this? Well, I like to make things that last for a while….and I knew that having just plain paper exposed is asking for trouble….can’t you just see the food being spilled, tiny fingers smearing things across your binder, dropping it and getting smudges on it…..!?!? So, the transparency makes it easy to wipe off!
I then added a flower with a button on it to the front as well. Again…..ignore the MASS production. 🙂 Gorilla Glue works wonders when you are trying to get the buttons to stay.
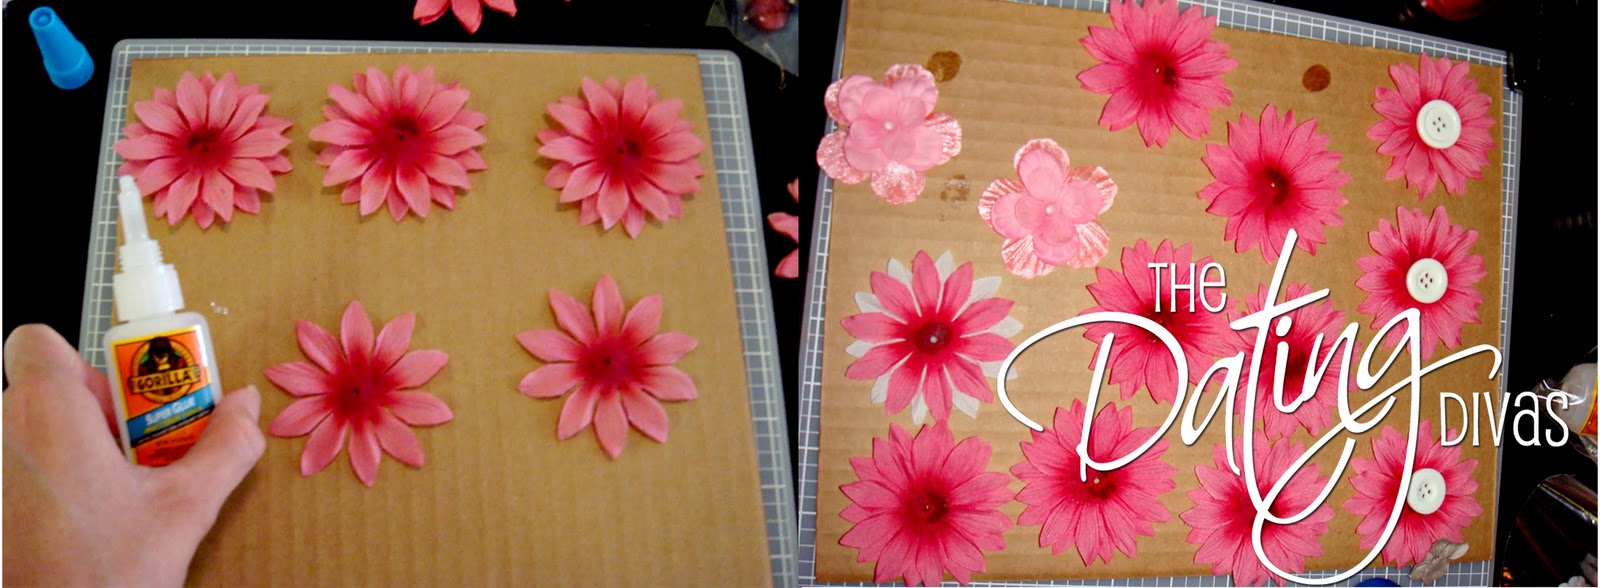
The flower went on top of the “title sheet”. See pic below…

Below is one of our favorite quotes. It is also included in the download. I backed it with brown paper…just leave about ¼ inch of brown showing around the edges.

I adhered this quote onto the FIRST divider page and it looks like….
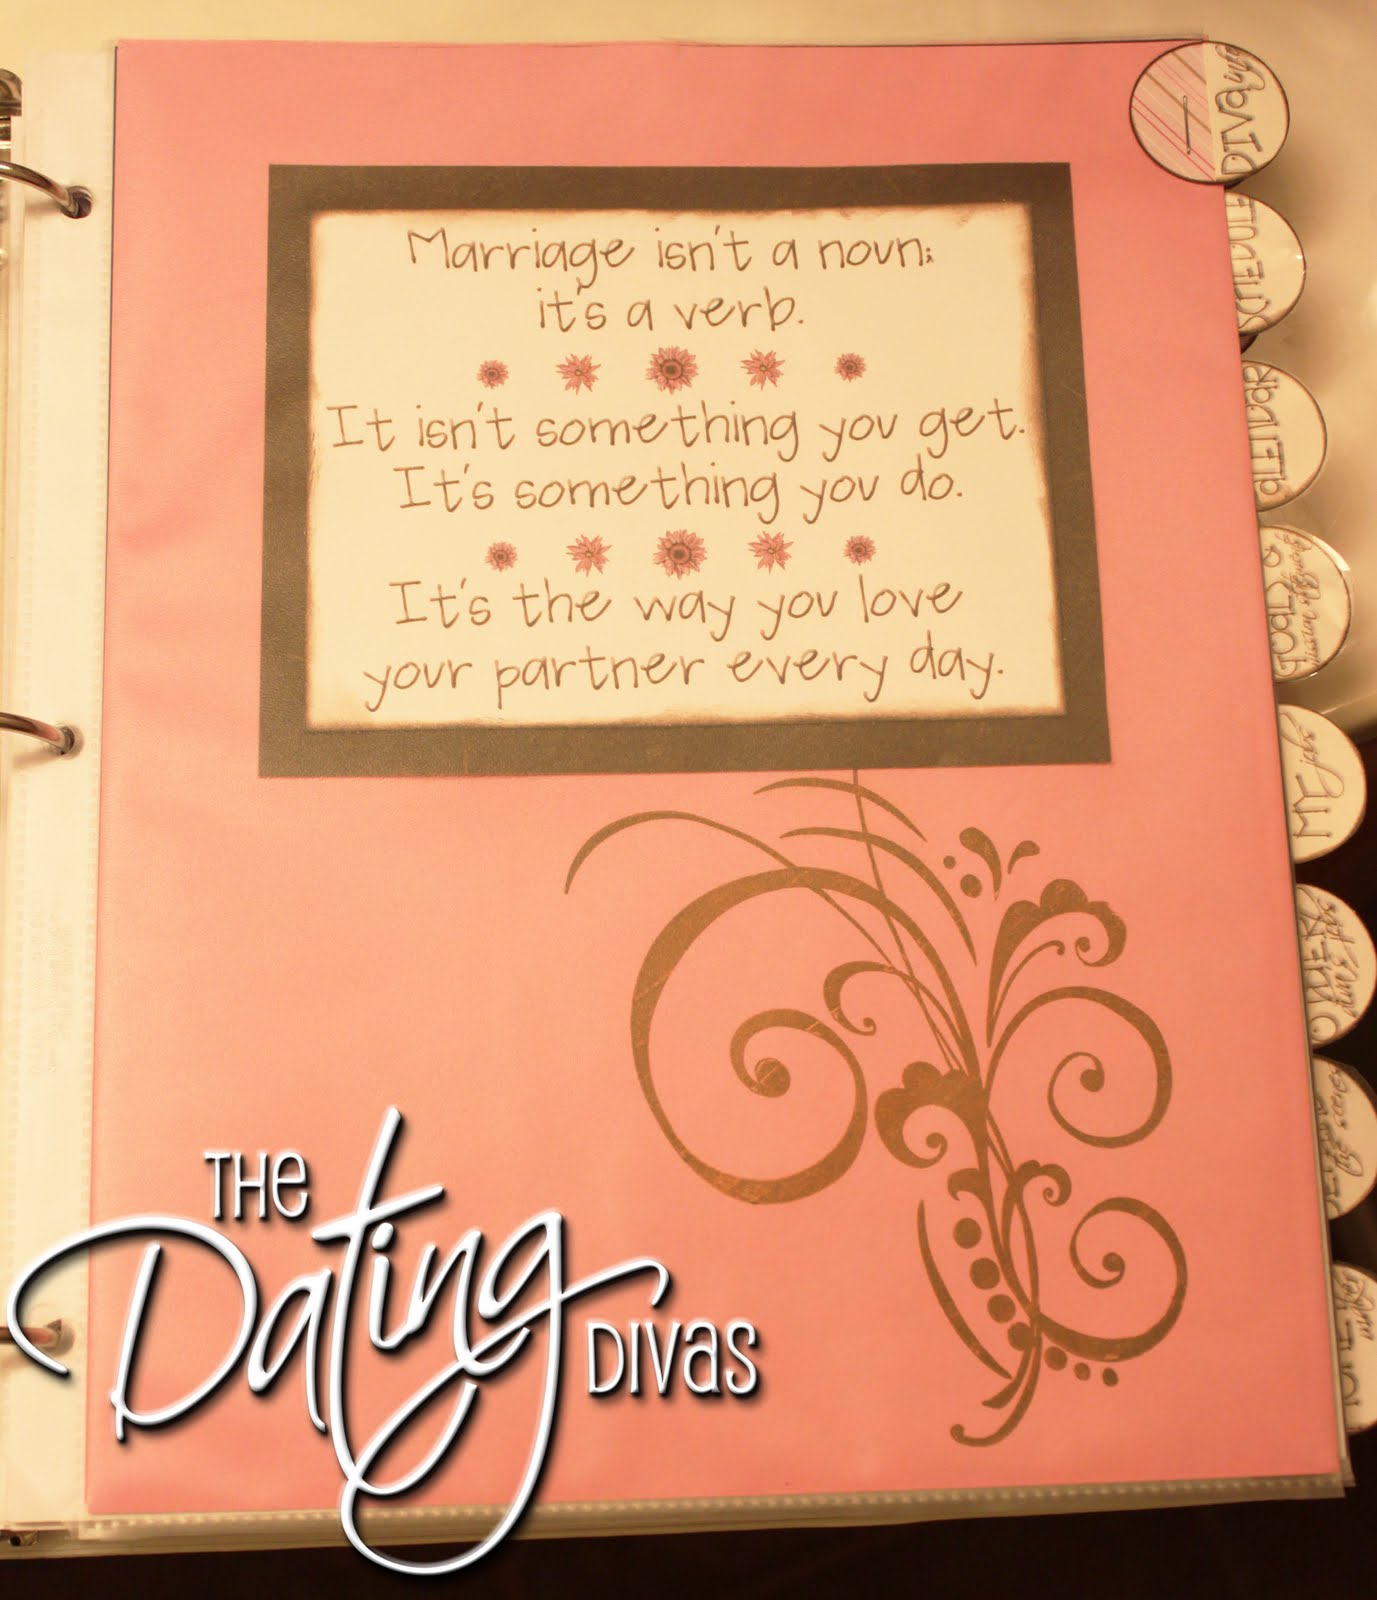
The rest of the dividers just have the stamp on it.
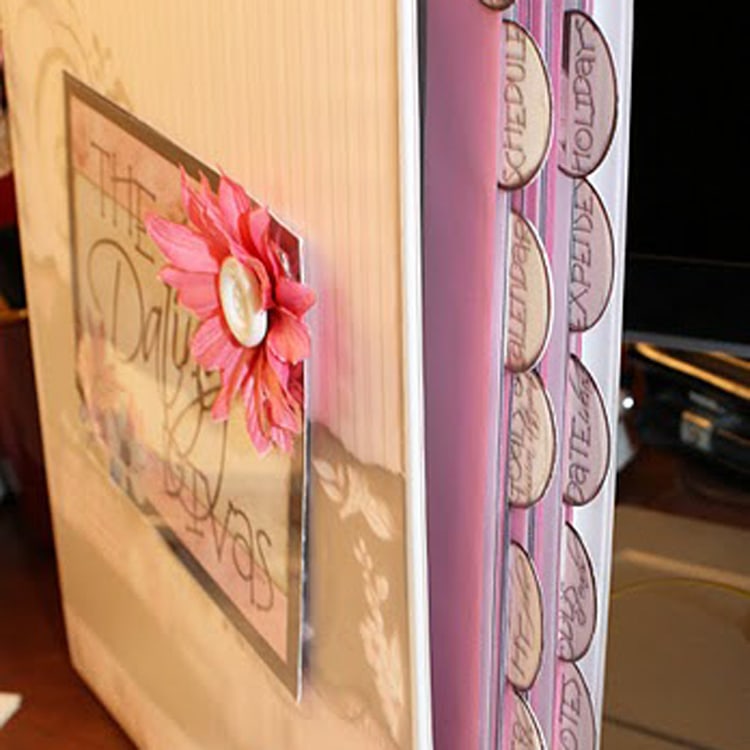
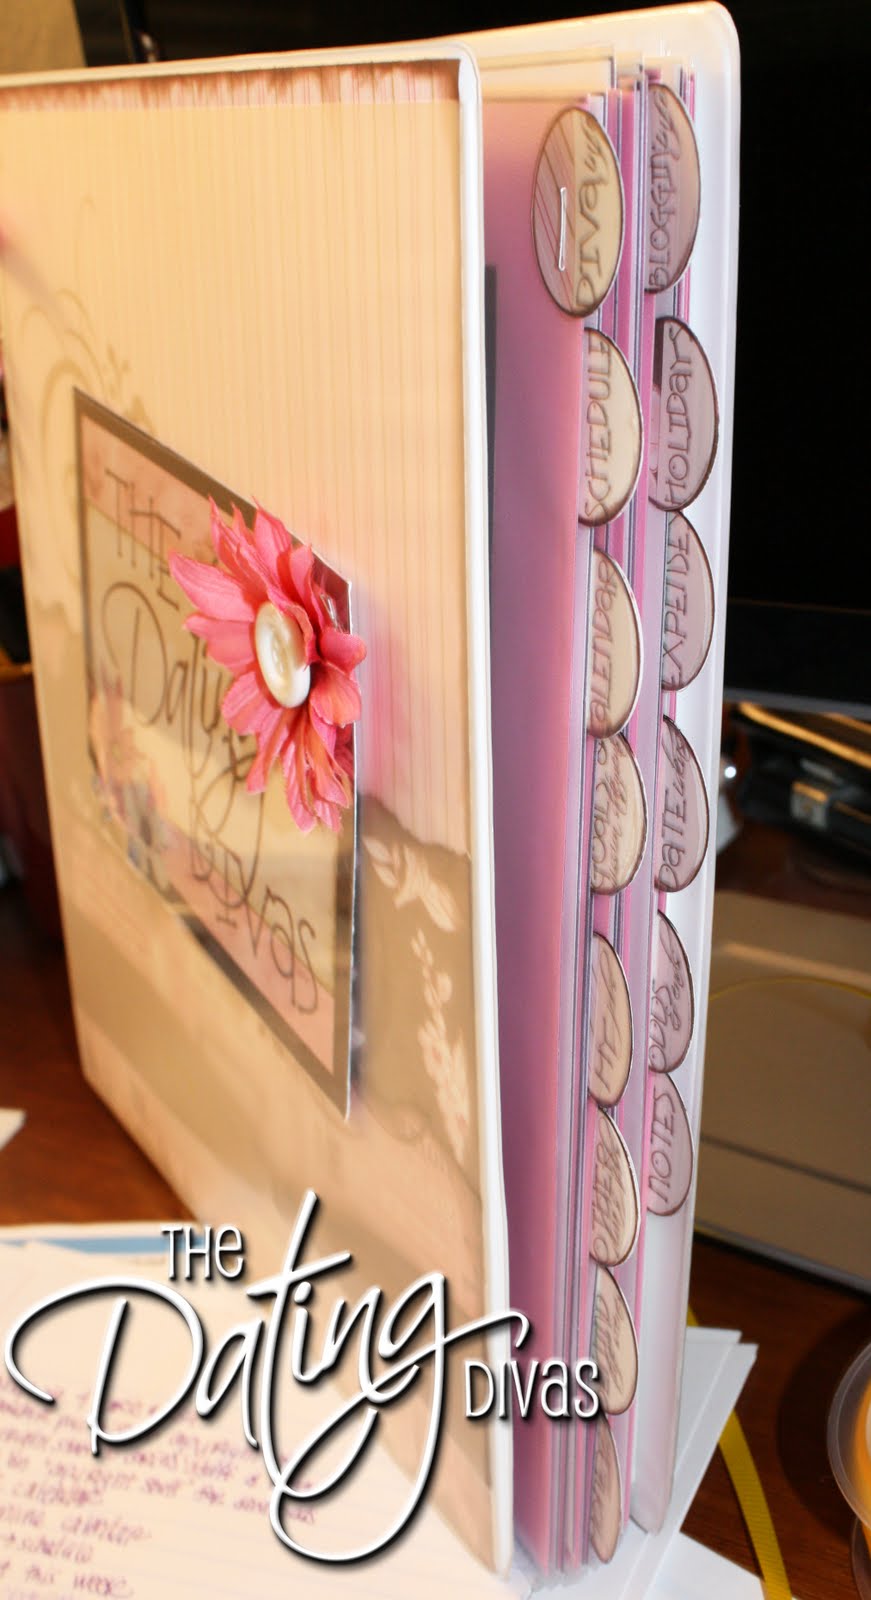
LAST step….the tabs. It helps when you have a SUPER hot assistant that jumps in to help you with your details!! I used 1 ¼ inch hand punch to cut all of the circles out. You can totally just draw your circles by hand as well….with the diameter being 1 ¼ inches across. I made sure to punch holes out of ALL of the different paper I used on the cover….to give it a variety. You only need to punch out or cut the # of dividers you would like.

I also punched out transparency circles as a “protector”. I placed the transparency on top, and stapled them onto my different dividers. (Now….you can totally write on whatever you want on your dividers. I didn’t include that on the download since everyone would have different ideas on what they wanted theirs to say. The tabs below are ones that are on my “diva” binder…. )

I typed up labels that were the diameter across of 1 1/4, printed them, punched it out, and cut half of it off….so only the bottom half of the circle (with the word on it) was left. I then adhered that half-circle to the top of a whole scrapbooked circle….before adding the transparency on top and stapling it to my dividers. You can see what the tabs look like when it’s standing up.
And here is this last shot of my OWN personal binder….with the two swirl stamps on it….

Happy Scrapbooking!!
This Post Is Linked Up To:I Heart Naptime The Sunday Showcase Party Just Something I Whipped Up Craft Schooling Sunday Motivate Me Monday Making Monday Marvelous Making The World Cuter Mondays Metamorphosis Monday Made By You Mondays Craftastic Monday Tools Are For Women Too! CraftOManic Monday Show Me How DIY Project Parade Market Yourself Monday Take A Look Tuesday Toot Your Horn Tuesday Tutorial Tuesday All Things Related Get Your Craft On Blue Cricket – Show & Tell Someday Crafts – Whatever Goes Wednesday Trendy Treehouse – Creative Share 733 – Sugar & Spice Thrifty Home – Penny Pinching Party Fireflies & Jellybeans – Show Off Your Stuff Transformation Thursday – Shabby Chic Cottage Under $100 Linky Party Life As Lori Hooking Up With HoH Paisley Passions Crafty Soiree Somewhat Simple – Strut Your Stuff Frugal Friday Fingerprints On The Fridge The Girl Creative Party Blog
Free Download
I have been searching for sometime for ideas for a cute cover for our sorority cookbook. I love what you have done and can’t wait to alter it. Thanks so much for idea. It is marvelous!
I have been following for a while now and have so many ideas printed to do with my husband. So I am finally getting around to putting my notebook together so they are all in one place. The printables say there is an error downloading. Can you email me them? Thanks so much!
I love this idea! My best friend is getting married this year and since the budget is tight, I have been worrying about what to do for her wedding gift. I think this would be inexpensive but totally heartfelt and meaningful. The link for the printables says it is not a valid link…please help! Also what do your tabs say? I couldn’t read them in the pictures. Thank you so much for the ideas!
Hey Ryle! Those files are saved on my home computer….and I won’t be home for another three weeks. SO sorry! When is your friend getting married? I will re-upload them once I get back home. 🙂
Fabulous idea, looks like making the book might be one of your date ideas too:) Great that you have such a nice helper! Love this, we could used a little help with some creative ideas of things to do together too. Thanks for sharing with us at A Crafty Soiree! Please join us next time too!
So lovely !
@Tannia…..GIRL! Have you browsed around our blog? You are in for a treat! 🙂 Go to our labels on the right sidebar and you can click on either "Four Or More" OR "Just The Two Of Us"…depending on whether you want to do a group date or a date with just you and your man. 🙂
oh soooooo cute! Im so glad I found this blog! me and the hubby totally need this! So do you have any other links or date ideas? we are always looking for some fun, cheap things to do. We are pretty boring though! we really need to move away from the whole movie at home thing:) any ideas?……
I am going to feature this WONDERFUL idea at Paisley Passions Thrilling Thursday this Thursday. Feel free to stop by and grab an "I Thrilled at Thrilling Thursday" featured button off my sidebar 🙂 Thanks again for linking up!!!
Boy, do I need this (once we have time for dates anyway). Does it come with a babysitter built in? Thanks for linking to Craftastic Monday:)
@Elizabeth – it's TOTALLY up to you as far as how you would like to organize your binder. A few ideas: the tabs could relate to what KIND of a date it is…such as "At-Home", "On The Town", "Free", "Low-Budget", "Expensive", "Adventurous", "Relaxing", etc.
It could be split up according to how many times a month you would like to do your dates. If you are going to go out weekly…then you could sit down with the hubby & decide who is planning what week….and divide the binder up that way….you would then store your ideas behind whatever week(s) you are in charge of….things you would need, invites, the date "layout", recipes, etc. The week would be the divider tabs – Week 1 – Elizabeth, Week 2 – Hubby, Week 3 – Elizabeth, Week 4 – Hubby, Week 5 (if there is one) – Group Date or Game Night, etc.
Hopefully that will give you enough to go on so you can organize all the FUN date ideas we give ya! Good luck! 🙂
What a great idea and so pretty too! Thanks SO much for joining in on Thrilling Thursdays @ Paisley Passions. I love to see the creative talent of other fellow bloggers. Hope you to see you again soon 🙂
~Lori S.
Thrilling Thursdays @Paisley Passions
I love this! This is my first time visiting…and you all have such great ideas! I was just wondering if you could let me know how your dating binder was divided up, just so I had some direction on how to organize my own. Thanks!
Really like your blog. I have also signed up for your Facebook page. I have a blog and a Facebook page as well.
Following you now from Feature Yourself Friday. Please follow back!
https://inspiredbyron.blogspot.com/
I Tara, so nice to see a new "face" on Craft Schooling Sunday. Thanks so much for sharing this wonderful project, and hope to see you again soon!
So pretty!! I am a new follower and would love a follow back
https://theseareafewofmyfavoritethings-sue.blogspot.com/
That's beautiful! This is my first time visiting your blog and I love it!
Sending a sweet hello from Frog Hollow Farm. I'm popping over from Metamorphosis Monday at Between Naps on the Porch. Your blog is so interesting and I love that you have such a great group of women involved – your idea for this blog is just so creative! I'm not a great scrapbooker but your instructions were so clearly explained that I might give this project a try – it would make a great gift to a newly married couple I think! Ciao, bella!
That turned out SOO cute! What a great idea.. I will definitely be featuring this.
Adorable!
Tara! I am looking at my binder right now and it's even cuter in person! Thanks again for all your work on these binders. LOVE them! 🙂
Awwww…you guys are making me blush!
@Shahny – girl…you can take a scrapbooking class from me anyday…just hop on a plane to Vegas and it's on! 🙂
@Kari – Ooooo…if you make more – I totally want to see a pic!!
This binder is adorable! I'm a rubber stamper, so this is right up my alley. Thanks for the great idea!!
These are SUPER cute!!! Also it would make a FABULOUS Christmas Present
That is absolutely the cutest binder ever! You are so creative! Can I take a scrapbooking class from you?? Totally serious. 🙂
I'm in love with mine Tara! It's so adorable that it makes everything else on my desk look hum-drum. AND it keeps my dating life organized. Fabulous! BTW I plan on organizing my entire life with these cute binders. Thanks for the idea!
Coolest binder ever! 🙂
OMGosh… sooooo unbelievably cute! And here I just had everything saved to my desktop! Sheesh what was I thinking!
Thanks girls!