Countdown to Valentine’s Day with a Love Notes Calendar
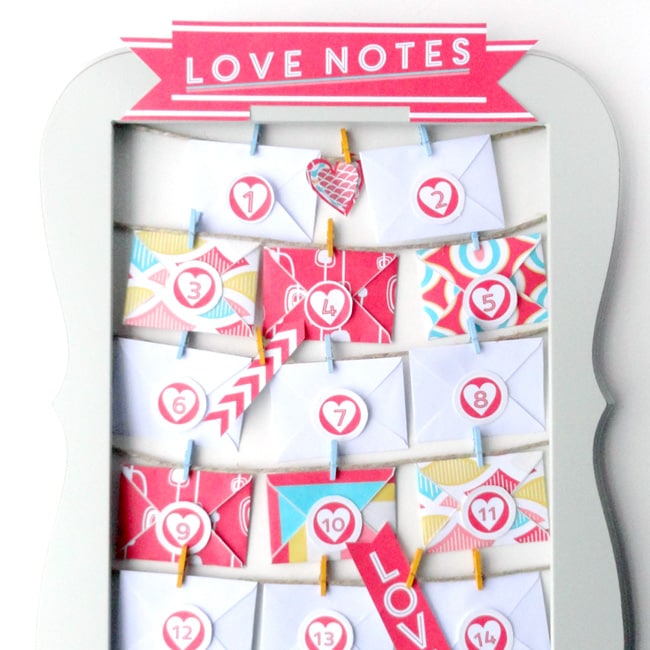
Advent calendars don’t have to be just for Christmas anymore – get Valentine’s involved, too! Make the days leading up to Valentine’s Day extra special by putting together this super sweet set of framed love notes to help you countdown until the ultimate day of love!
Materials
Ready to get started?? Here’s what you’ll need to get going:
- 11×14 Wood Frame *I found mine at a craft store, but you can use any frame you want, just make sure it’s made of wood or a composite of wood and not plastic.
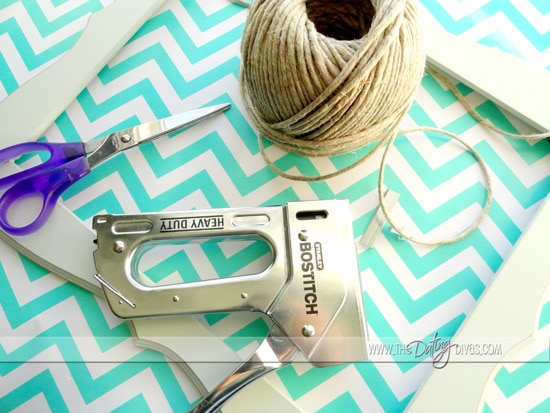
- String
, Yarn, Ribbon or Metal Wire
- Staple Gun
*Sorry, a regular old stapler isn’t going to do the trick!
- Staples
- Scissors
- Transparent Tape
- Mini Clothespins
or Clips *I painted mine with some acrylic paint I had lying around!
- Glue
or Sticker Paper
- Printed Envelopes, Love Notes, Stickers, and Embellishments *Print everything on cardstock except the envelopes – they’re so tiny that they’re actually really tough to fold on a heavy paper, so just print those on regular computer paper!
Assembly
Once you’ve gathered up everything you need, clear out some space on a sturdy table and have all your materials handy. Make sure your surface is clean or you might scratch your frame. Alright, ready? Let’s get to it!
1. If your frame has glass and/or a backing, go ahead and remove those. You won’t be needing them for this project.
2. Cut five lengths of your string to be about 13 inches long. These don’t have to be perfect and if you don’t want to measure exactly, just hold them across the opening of your frame – they should fit with a about an inch to spare on each side. If you’re unsure – make them too long, you can always shorten them up later!
3. Flip your frame over on your clean surface, so that you’re looking at the back of the frame and set it vertically in front of you.
4. Arrange your pieces of string from left to right across the back of the frame, spacing them evenly. Put your first string at the very top of your frame, so that it’s almost out of sight, then continue putting the others a bit below it. I’m not the measuring type, I just like to eyeball things, but if my elementary math serves me, you should leave about 3 inches of space between each string.
5. Use the tape to secure these (temporarily) and make any adjustments to ensure that everything is straight and even. Turn your frame over and check out how it looks from the front, too!
6. When you’ve got it all set up so you’re satisfied, put your frame back, face down on your sturdy surface. Place your staple gun centered on one side of the first string. Press firmly and staple!! Continue with both sides of each piece of string, then remove your tape. Trim up any excess string so that it doesn’t show when you’re looking at the front of the frame.
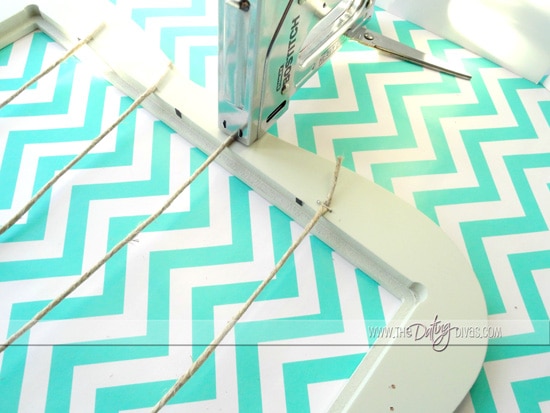
7. Flip over the frame and admire your handiwork! Tell me that wasn’t easy-peasy!
Now, to get started on assembling the Love Notes Calendar:
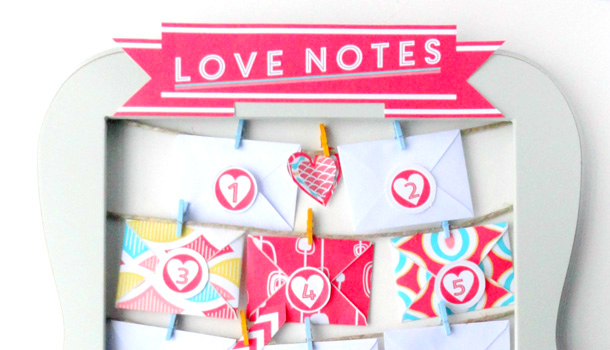
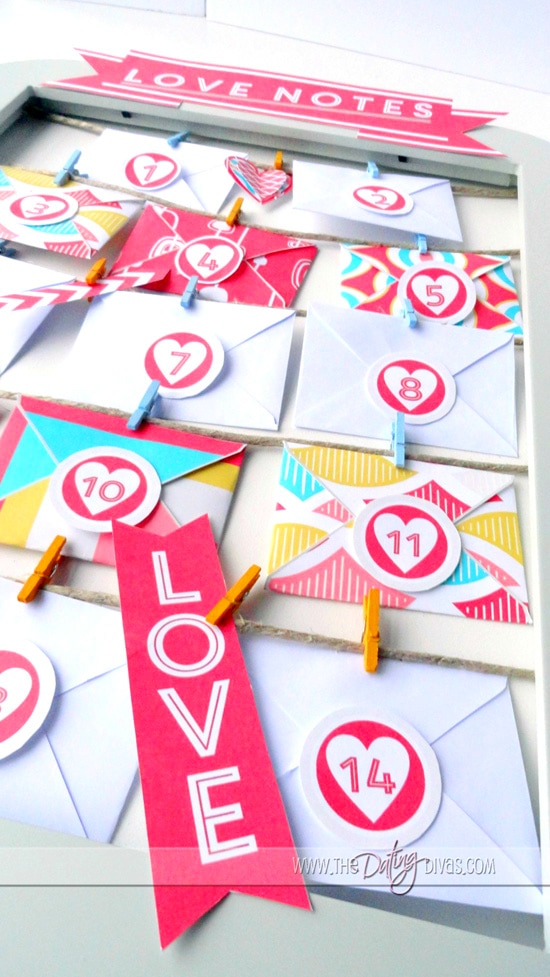
8. Start by choosing your favorite banner option. I went with the one that says “Love Notes.” I didn’t want mine to be permanent, so I just used rolls of tape along the back and it’s stayed really well, if you’re looking for something more long term, go with a strong glue (but know that then you might have trouble with the bonus craft… keep on reading for more info!)
9. On the precious little love notes, write some sweet-nothings to your honey. Think about why you love him, how he makes you smile, what sweet things he does for you, or the lyrics to your wedding song… remember, it’s the little things!
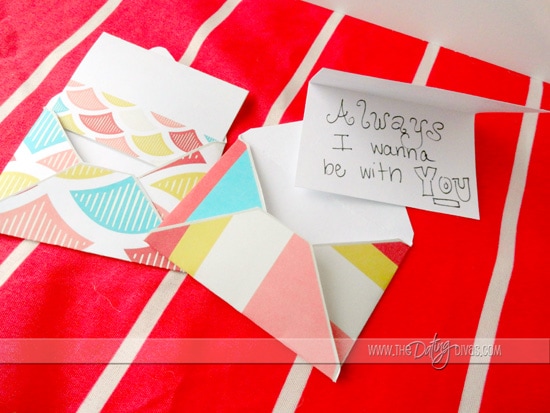
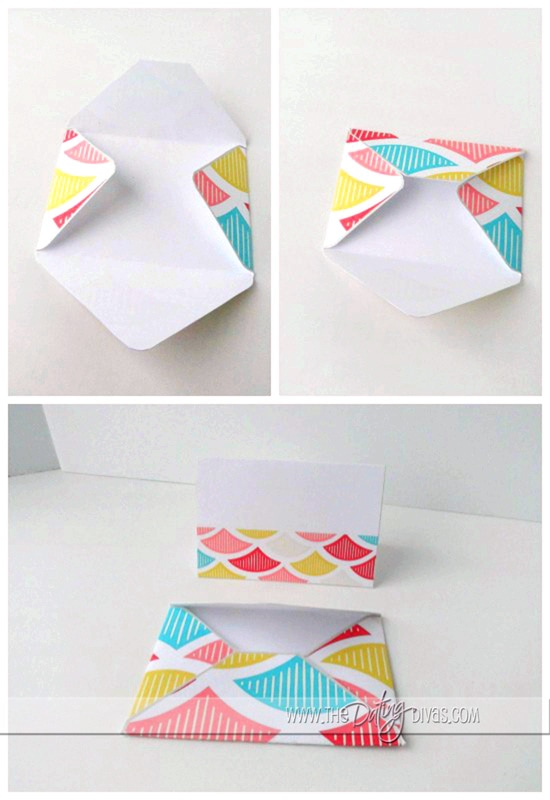
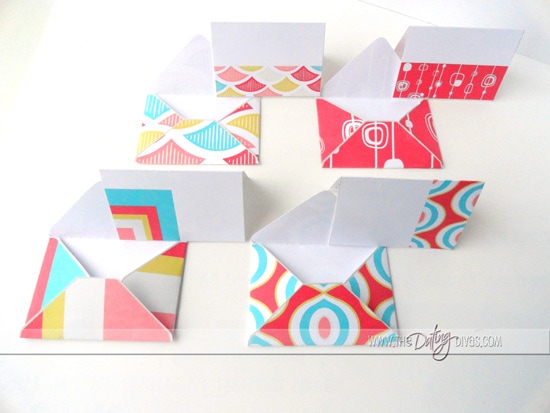
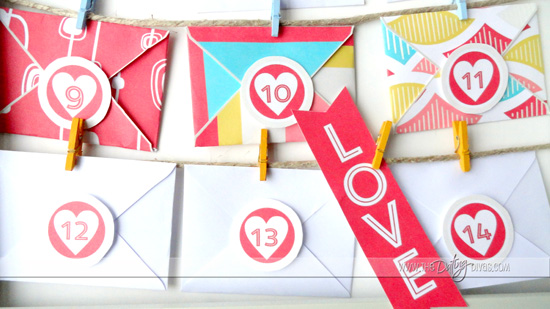
13. Use the mini clothespins to attach the envelopes and embellishments to your string.
14. Now all that’s left to do is admire your handiwork and find a great place to display your finished piece!
Printables
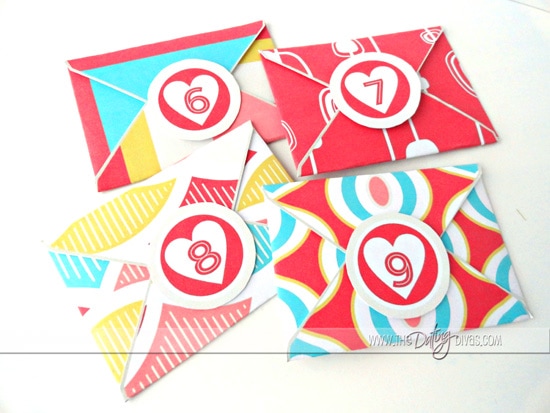
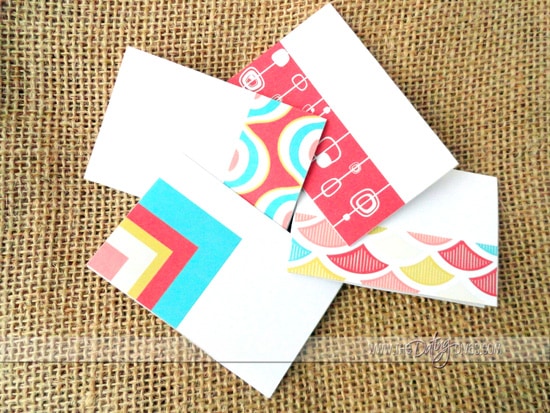
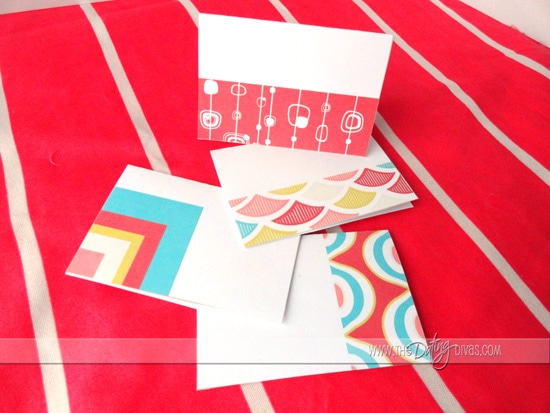
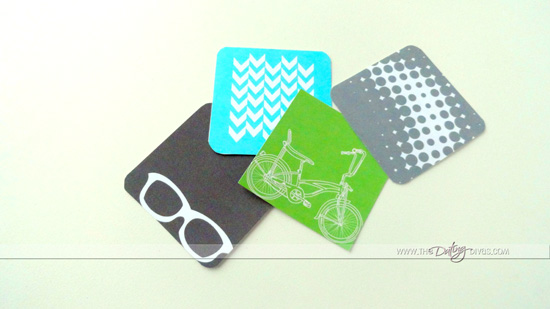
Kristin from CDotLove created these retro-style envelopes and embellishments to dress up your itty-bitty love notes! With designs like this, they’re sure to get lots of attention!
Snag your FREE printables to complete this project at the bottom of the post.
Date Night
How fun would it be to turn your new Valentine’s Advent Calendar into a mini date night, every night until the big day?! You could start a nightly ritual of letting him open his note and enjoy a treat – chocolate has GOT to be involved!
If you’re into love notes, we have tons of other great ideas to help you write to the one you love!
Check out these really popular Open When Letters – they’re perfect for long distance relationships!
If you’re looking for short and sweet love notes, there are TONS of Printable Post-It Notes to brighten up the day.
When you’re interested in dedicating a bit more time, try writing some super meaningful love letters, this amazing kit includes everything you need to enroll your spouse in the Love Letter of the Month Club!
Instagram Picture Frame
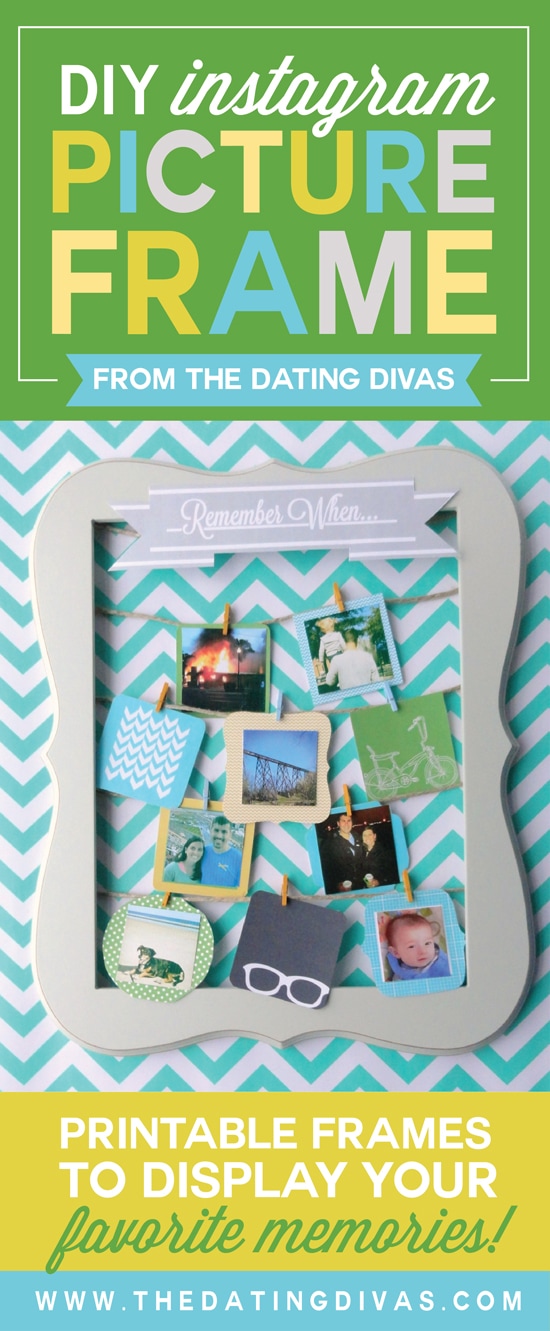
If that wasn’t quite enough sweetness for you, we’ve got a BONUS idea… Once Valentine’s Day is over {sad} you can still use your love note frame! Just unclip all your love notes and envelopes (if you haven’t already) and stash them somewhere safe (you’re definitely going to wanna reread those over and over again!), then use these adorable printable frames to create a piece you can keep up year-round!
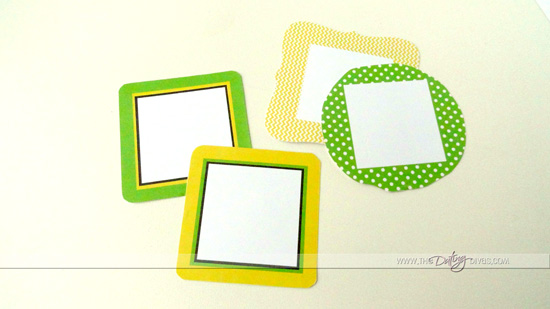
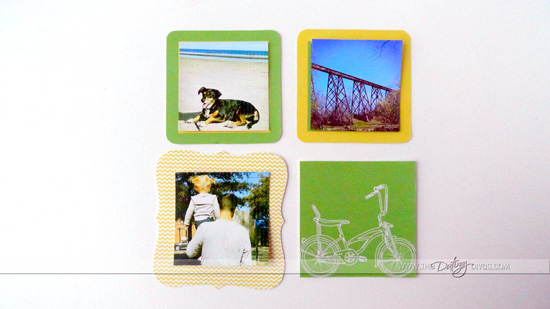
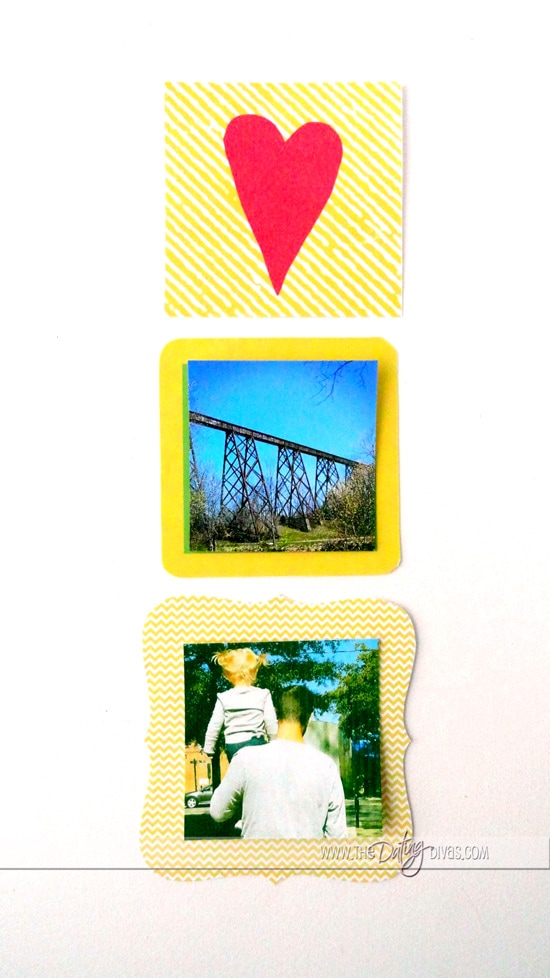
All you’ll need to do is print your favorite Instagram pictures and mix and match these adorable frames that Kristin from CDotLove whipped up for us. She is seriously amazing!!
She’s even created a few anytime/anywhere embellishments to dress things up a bit! I am always of fan of a project that has multiple uses!!



I love both of these. What size photos did you use for the squares? I need to get some printed but I’m not sure what will work with the spacing and size of frame.
Thanks!
Hey Kara! I actually cropped them myself and printed them at home onto a high-quality photo paper. They need to be 2 inches by 2 inches to fit in the square frames, but you could have them printed as 3×5 and just cut them down yourself, too. Hope that helps and everything turns out super cute!
OH MAN!!! These are seriously ADORBS! I need to make BOTH of these! Thanks for the DARLING idea Megan!!!
Loving these ideas for Valentine’s day, especially the photo frame!! We do love your picture diy gift ideas;)
Best,
Lexi
https://www.pictricks.com