Doing the 12 Days of Christmas is one of my favorite holiday traditions! Anyone else? Well, how about a fun, new way to gift your secret surprises this year? I introduce you to…
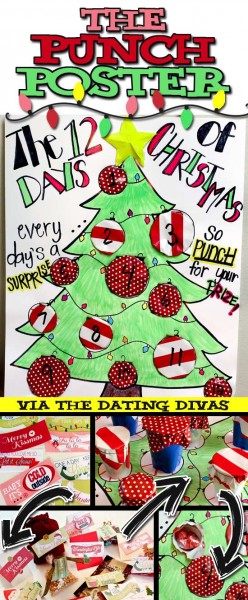
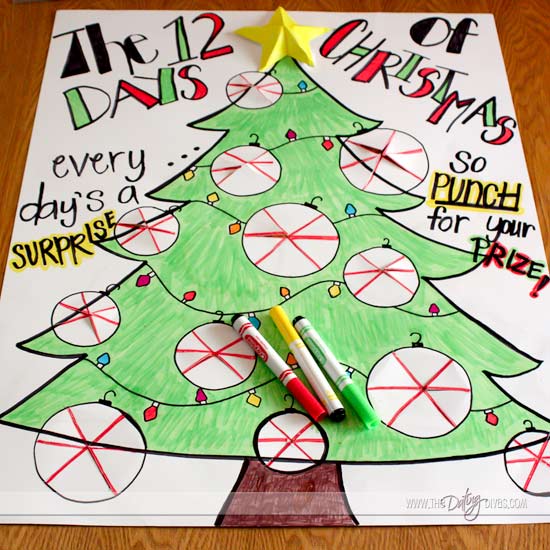
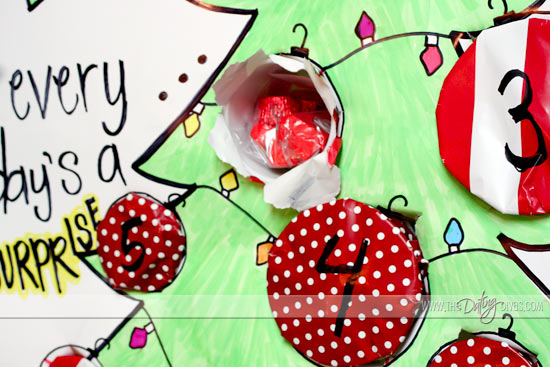
As soon as I saw this fun Punchbox on Pinterest, I knew I wanted to make my own! I mean, punching for a prize- how fun is that? But instead of using it for party favors, I decided to make a Christmas advent to do the 12 Days of Christmas for my husband. And to go along with the holiday theme, I decided to use the shape of a Christmas tree so that the circles would look like ornaments. Festive, right?
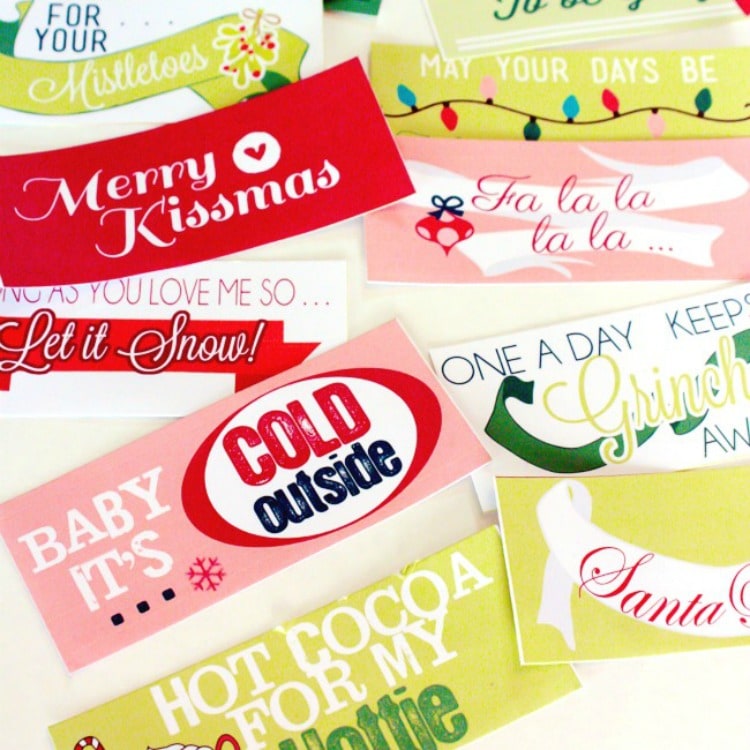
It was so simple to make and turned out great. Plus, I think it’s so much more fun that just leaving the gifts out. Don’t you think? We even designed cute Christmasy, printable notes for each day for you too!
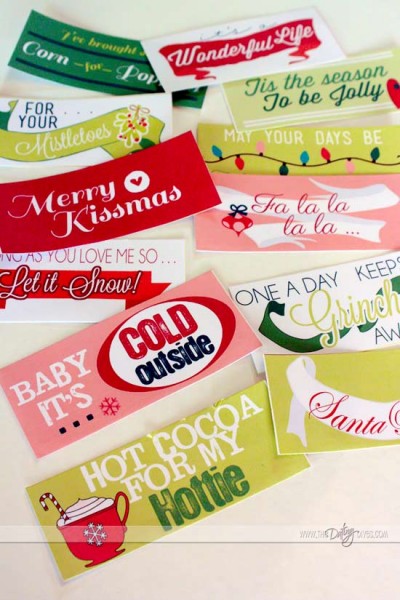
Want to make your own Punch Poster?
You’ll Need:
- A heavy, duty poster board
- 12 plastic cups
- Pencil
- Markers
- X-Acto Knife
(or ruler and scissors)
- 12 Rubber bands
- Christmas tissue or wrapping paper
- Tape
- 12 small surprises (see below for our suggestions)
- Our printable “12 Days of Christmas Notes”
- Hole Punch
- Ribbon
Here’s What You Do:
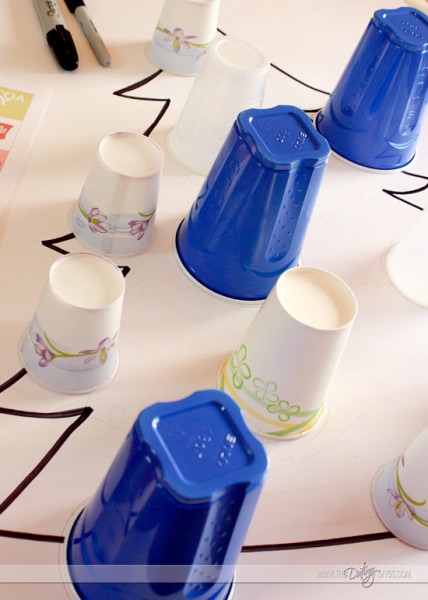
1. Draw a large Christmas tree shape on your poster. Place your plastic cups up-side-down where you want your ornaments, and trace around them. (I used a variety of sizes of plastic cups that I already had, and it worked great)
2. Add ornament hooks to the top of your circles. Draw in Christmas lights or anything else you want to “decorate” your tree with. Trace everything with a black marker.
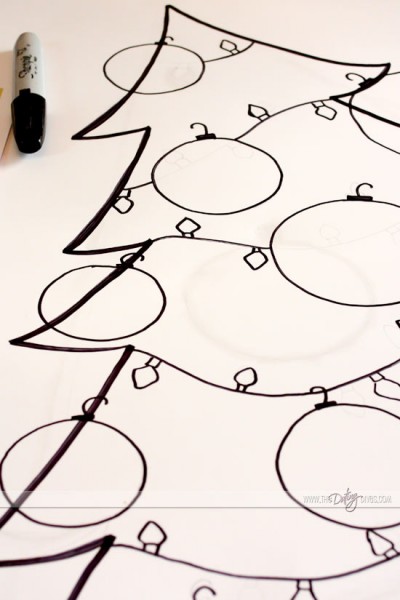
3. Color it all in!
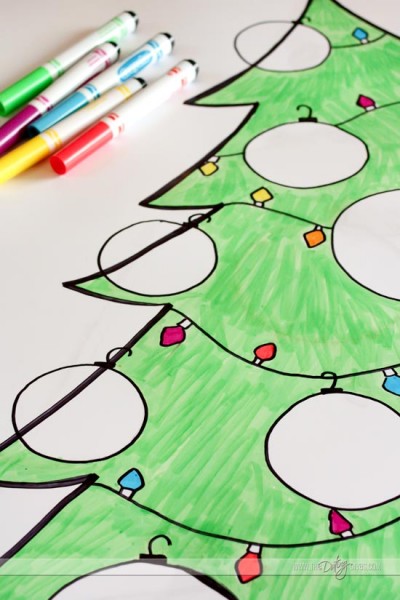
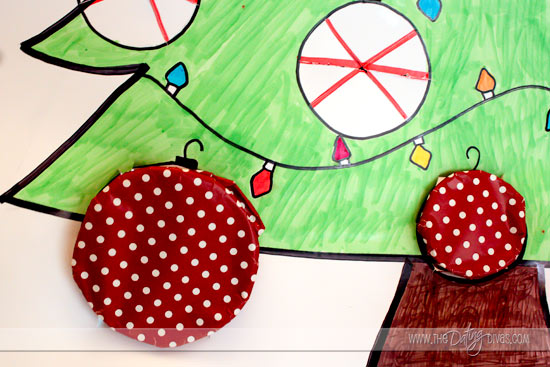
4. Draw an X with a line through it on all of your ornament circles, like this…
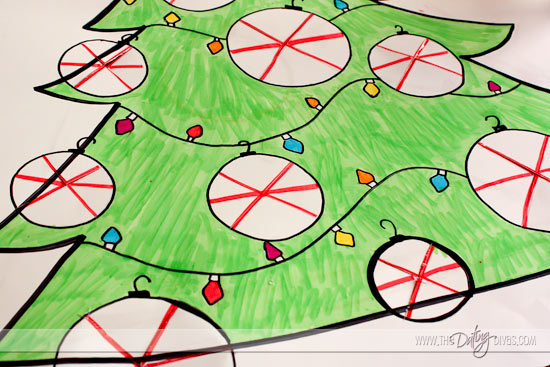
5. Use your X-acto knife to cut along the lines inside the circle. Do NOT cut around the circle itself! (If you don’t have an X-acto knife, you can open your scissors and run the sharp blade along the line, pushing against a ruler.) Afterward, it should look something like this…
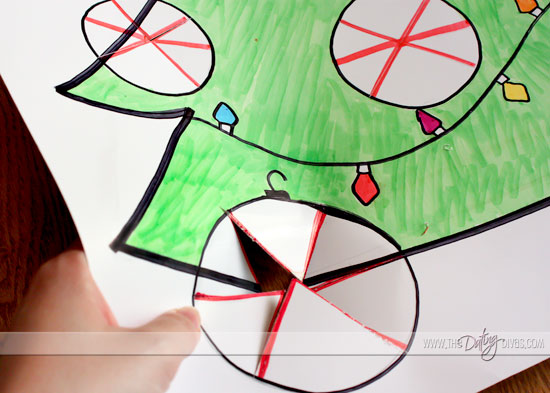
6. These cuts will allow you to slide the plastic cups inside your circles. Test it out and see if you need to make any additional cuts…
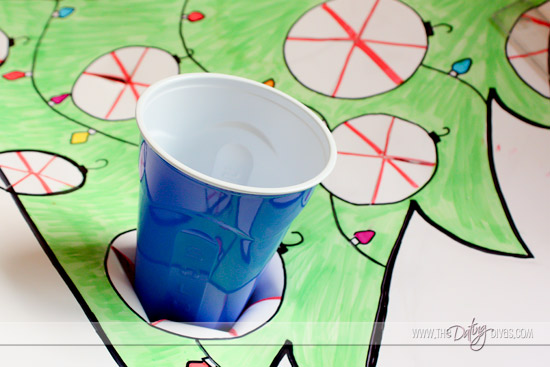
7. But before we get to those cups, it’s time to add all of the finishing touches to your poster. Add a tree trunk to the bottom, a star at the top, and any words you want. (After you start putting the cups in, it will be really hard to draw or write.)
8. Now go download and print our cute “12 Days of Christmas Notes”

9. Gather a small surprise to go with each note. (Remember, it has to be able to fit inside your cup!)
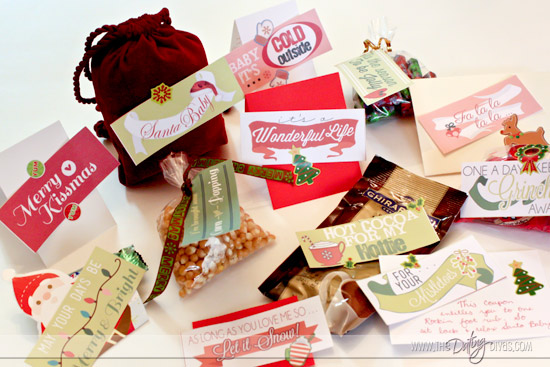
Here’s what we recommend…
- “For your Mistletoes”: new socks, lotion, or a DIY coupon for a foot rub
- “Merry Kissmas”: Hershey’s candy cane Kisses, mistletoe, or chapstick
- “Santa Baby”: a Santa hat, hand Santa-tizer, or anything with a picture of Santa
- “Tis the Season to be Jolly”: any Jolly Rancher flavored candy
- “As long as you love me so… Let it Snow!”: hat, scarf, gloves, DIY coupon for a date playing in the snow or watching “White Christmas”
- “I’ve brought some corn for popping”: small bag of microwave popcorn or bag of popcorn kernels
- “Hot Cocoa for my Hottie”: hot cocoa packet with marshmallows or gift card to Starbucks
- “It’s a Wonderful Life”: a picture of the two of you or a DIY coupon for a Christmas movie date night
- “Baby It’s Cold Outside”: hand warmers, gloves, hat, scarf, or DIY coupon for a date night watching “Elf”
- “One a day keeps the Grinch Away”: any red and/or green candy
- “May your days be Merry & Bright”: flashlight keychain or DIY coupon to go look at Christmas lights
- “Fa la la la la…”: iTunes giftcard or DIY coupon to a night of Christmas caroling
10. Stick the surprises into your plastic cups.
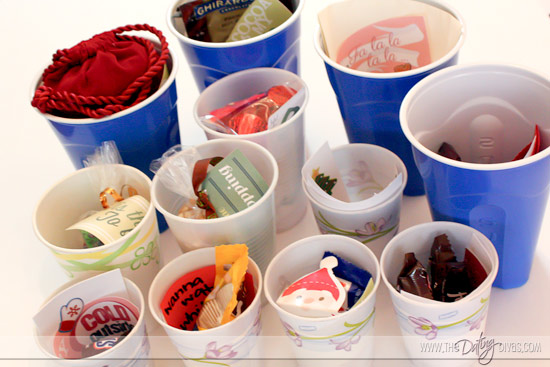
11. Cut a small square out of your Christmas tissue or wrapping paper for each cup, and secure it over the top of the cup with a rubber band.
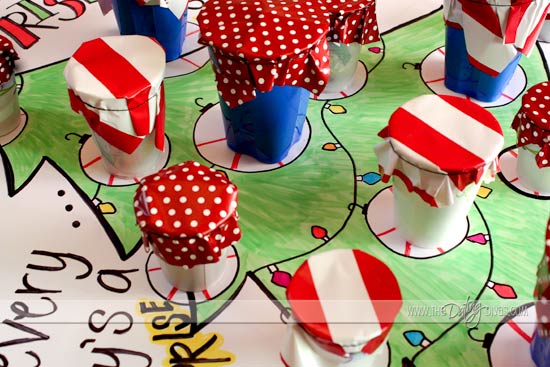
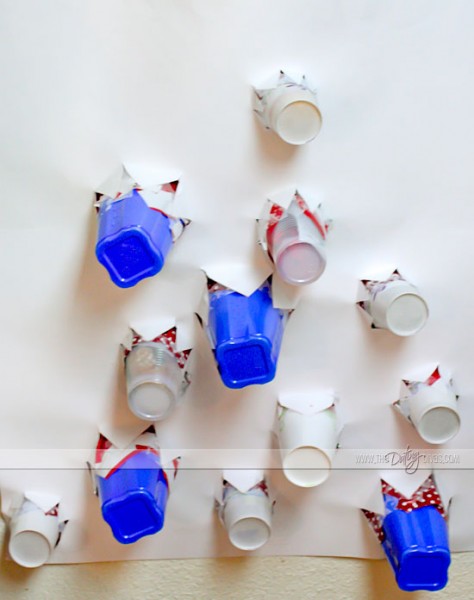
12. Very carefully, slide your cups into the circles one at a time.
13. After you pull each cup through a hole, flip your poster over and secure it to the back of the poster with tape. When you’re all done, the back should look like this…
14. Almost done! Punch two holes in the top of your poster for hanging.
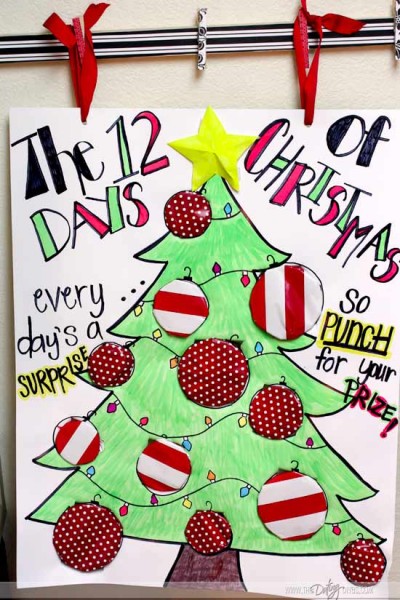
15. Don’t forget to write your numbers on top of your ornaments.
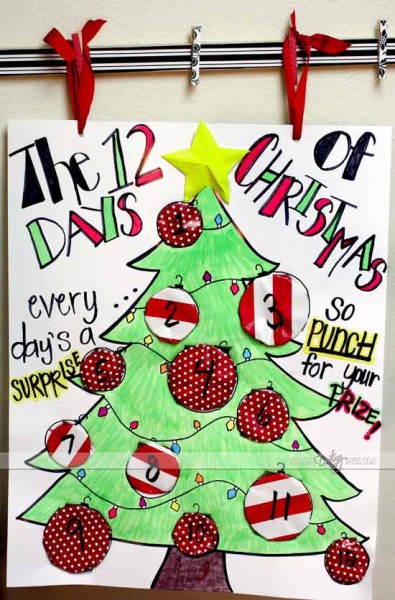
16. All done! Now all that’s left is to wait anxiously for your honey to discover his prizes…


I’ve tried several times and I can’t get this to print in Adobe. Is there any way to get it saved to another program?
Thanks!
I love, love, love this Becca!!!! I think I’ve just found my Christmas gift!!!! Love your tutorial and the darling pictures. Seriously I’m going to start working on this ASAP!!! xox
Oh how did I ever miss this on my Pintrest marathon sessions. Thank you so much for sharing.
You are welcome! Merry Christmas!!
Hello, I totally love this idea and can’t wait to make it for my hubby. The only thing is, I have a MAC computere and none of the diagrams/pictures which go with your step by step instructions show and the link to the notes doesn’t work either.
Not sure if it is just me or otehr shaving the same problem?
Thank you
Michele
Oh no! I’m so sorry Michele. We’re having some issues with our website, but we’re working on it. Sometimes trying a different browser does the trick. I’ll shoot you a quick e-mail.